
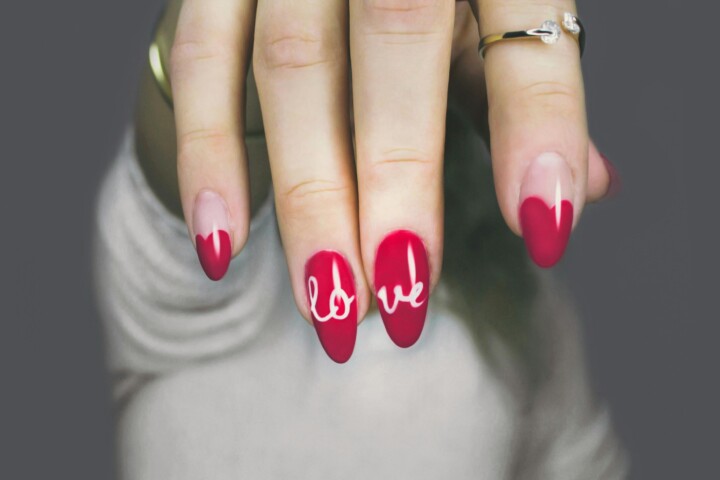
How to do Spooky but Cute Halloween Nails
[ad_1]
Getting perfect Halloween nails doesn’t mean spending a fortune at the salon. With a few basic tools and some simple tips, you can create spooky Halloween nails right in your living room.
Here, you’ll find designs that work for both nail art beginners and pros looking for some seasonal fun. I’ll also show you how to fix any issue that may arise in the process. Here, you’ll learn how to do spooky (but cute!) halloween nails at home with easy steps for a perfect holiday manicure.
Jump to:
What You’ll Need for Your Halloween Nails
Before starting your spooky nail adventure, gather these essential items:
Basic Supplies:
- Base coat and top coat
- Orange, black, and white nail polish (these are your Halloween staples)
- A few small nail art brushes
- Dotting tools (or a toothpick works too)
- Nail polish remover and cotton swabs
- Clear tape or nail stencils
- Small piece of makeup sponge for gradient effects
Optional but Helpful:
- Purple, green, or glitter polish for extra flair
- Nail stickers or decals if you want to skip detailed painting
- Quick-dry drops to speed up the process
Prep Your Nails Like a Pro
Perfect Halloween nails start with good prep work.
- Remove old polish completely and wash your hands.
- Push back your cuticles gently with a wooden stick.
- File your nails to your preferred shape and buff the surface lightly.
- Clean your nails with polish remover one last time to get rid of any oils or dust.
This step makes your polish last longer and prevents bubbling or peeling.
Easy Halloween Nail Designs
These beginner-friendly designs bring all the Halloween fun without any nail art stress.
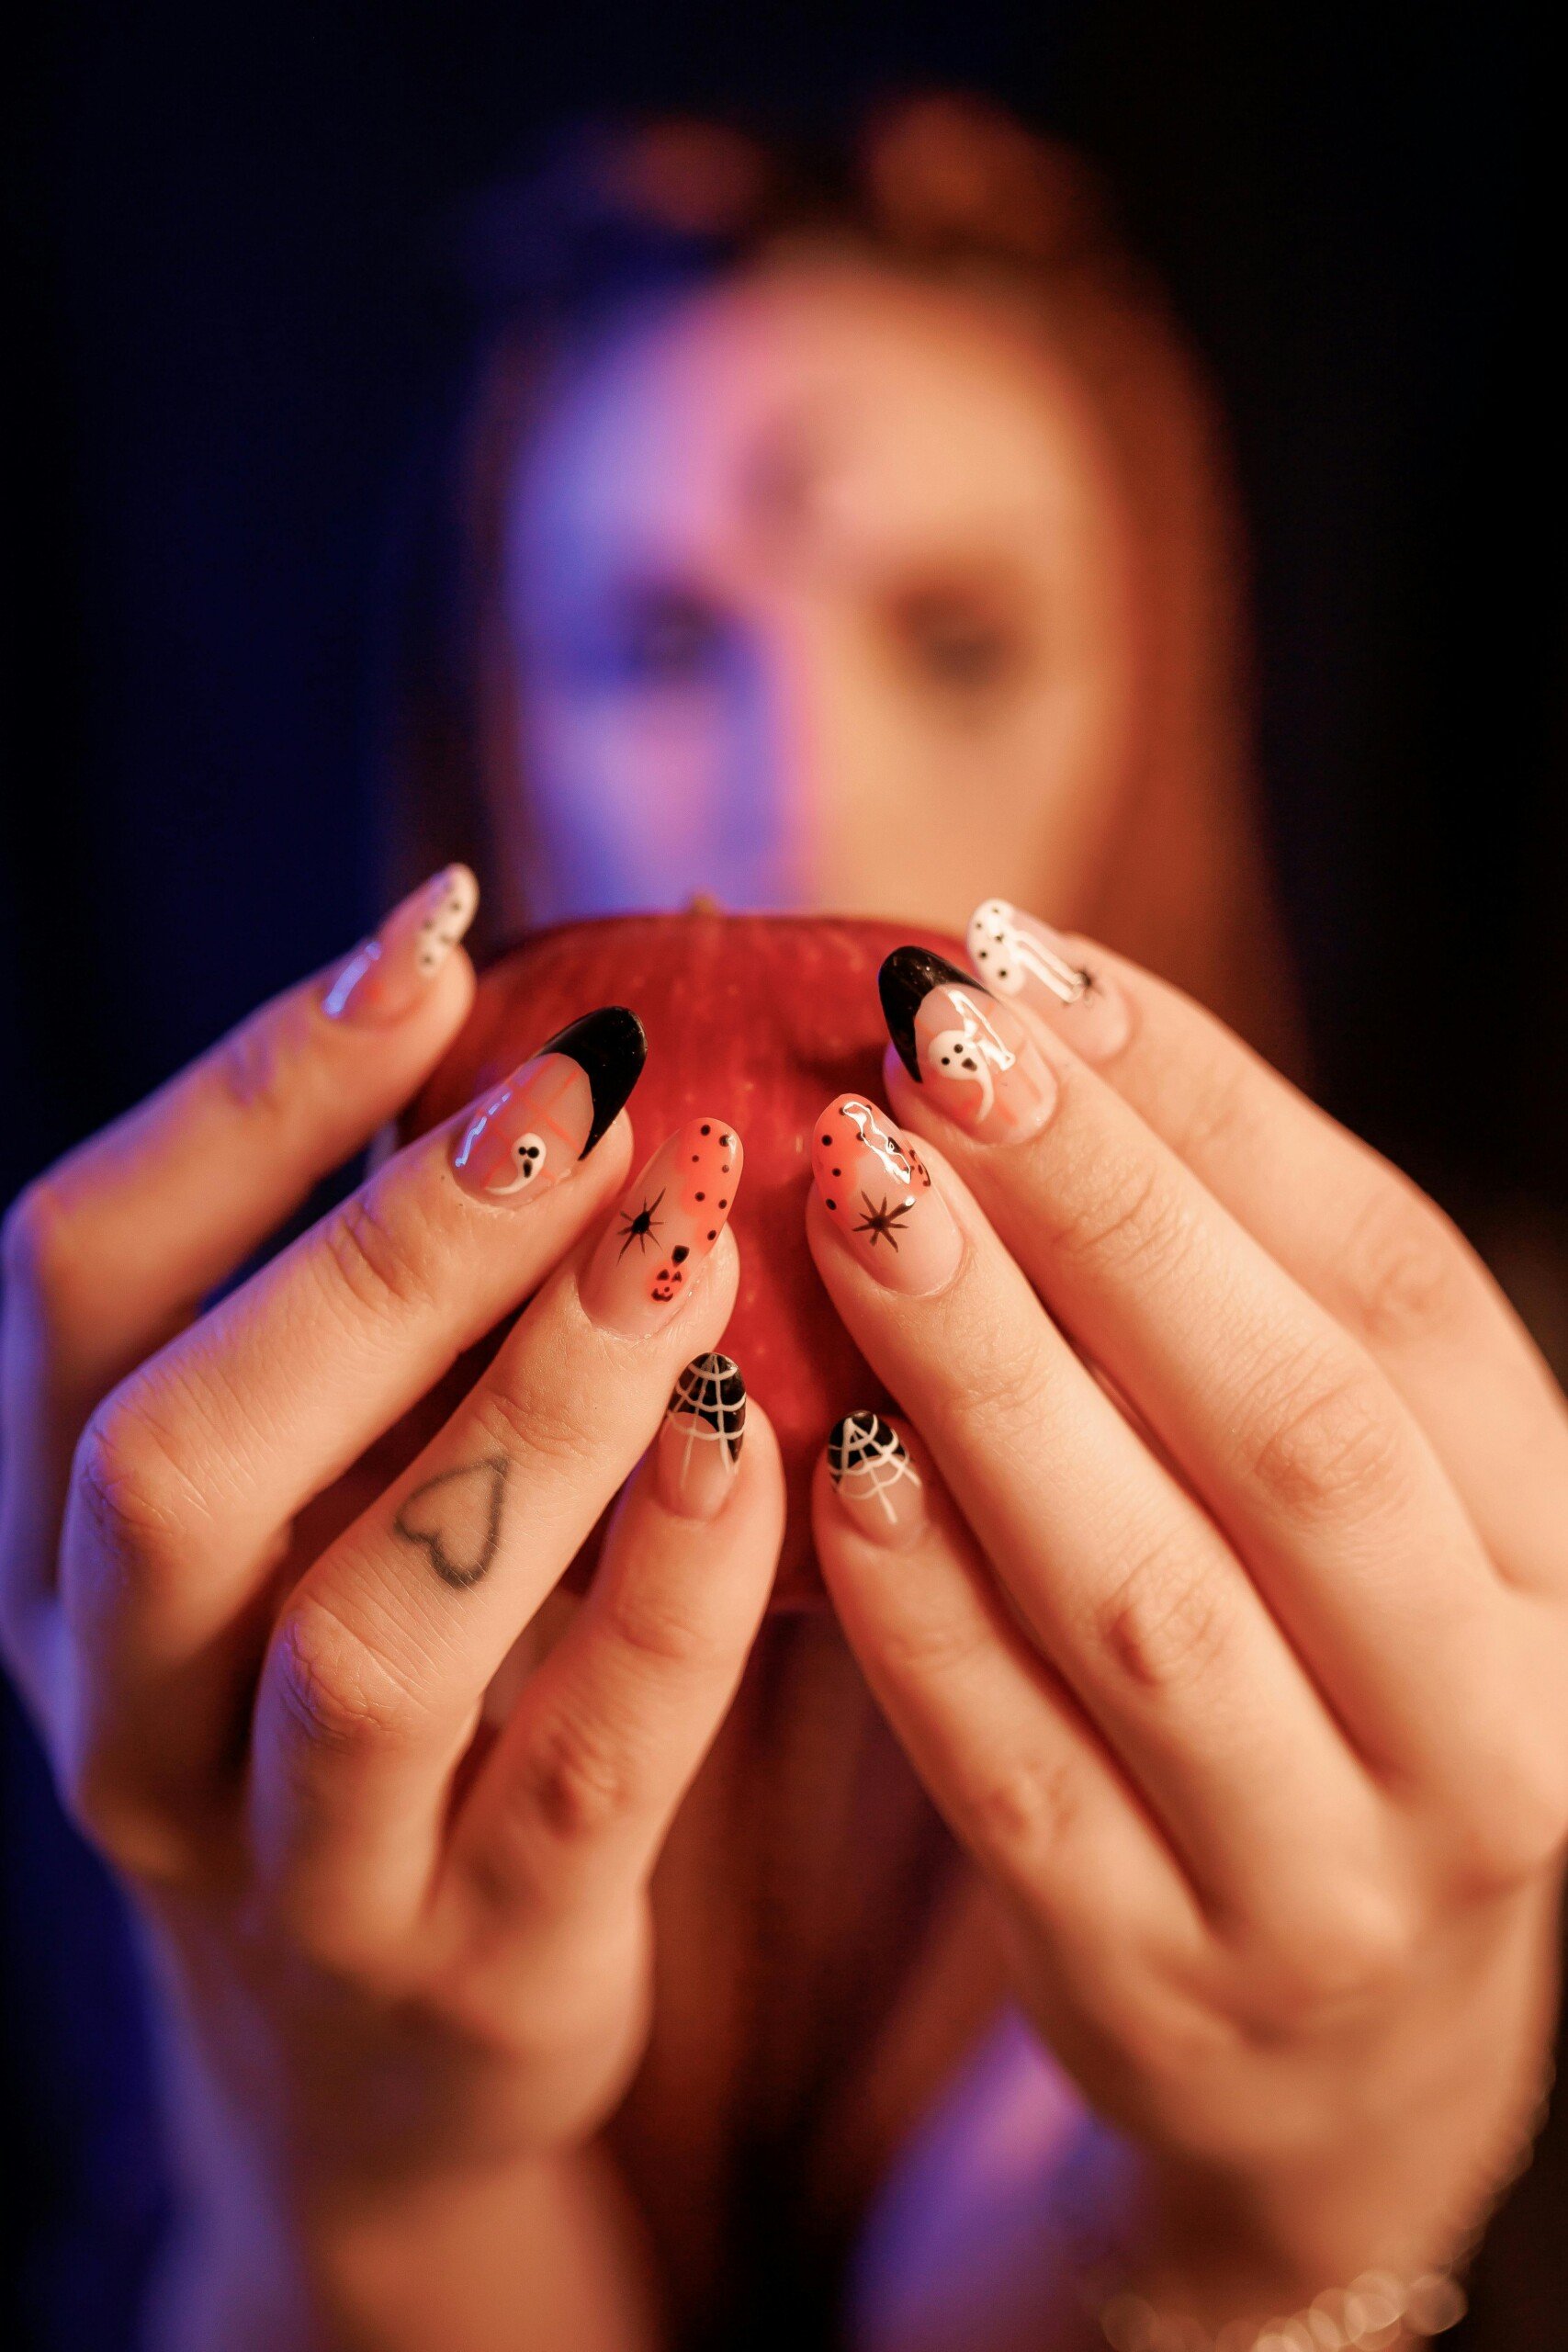
1. Cute Ghost Accent Nails
Looking for a design that’s more sweet than scary? This adorable ghost accent nail is a total crowd-pleaser and super simple to create.
- Start by painting all your nails with orange polish except for the ring fingers
- Apply two coats of white polish to your ring fingers
- Wait until completely dry (about 5-7 minutes)
- Using black polish and a small brush or toothpick, make two tiny dots for the eyes
- Add a small oval shape below for a friendly ghost mouth
- Seal everything with a clear top coat
This design works great for Halloween parties or just adding a subtle spooky touch to your everyday look.
2. Simple Pumpkin Pattern
Want a festive pattern that gets lots of compliments? These tiny pumpkins are easier than they look and are perfect for Halloween.
- Paint all nails with a white base coat
- Once dry, use orange polish to make three dots in a triangle formation
- While the dots are still slightly wet, connect them using a small brush
- Add a tiny brown stem at the top of each pumpkin
- Optional: create a jack-o’-lantern face using small black triangles
- Finish with a top coat for shine and protection
You’ll have an entire patch of cute mini pumpkins right at your fingertips.
3. Spider Web Design
This classic Halloween design looks complex but comes together quickly. Plus, any slight imperfections only add to the spooky vibe.
- Apply two coats of black polish to all nails
- Wait until completely dry (about 10 minutes)
- Using white polish and a thin brush, draw lines from one corner
- Create 3-4 straight lines spreading out like a fan
- Connect these lines with curved lines, working from the center outward
- Add a tiny white dot in the corner for a spider, if you want
- Seal with top coat
The result is beautifully haunting and perfect for your Halloween festivities.
Advanced Halloween Nail Art (Still Totally Doable!)
You can level up your Halloween nail game with these professional but doable designs.
4. Gradient Sunset Cemetery
This moody design creates the perfect backdrop for a spooky Halloween night scene, and the gradient technique is more forgiving than you’d think.
- Start with a clear base coat
- Paint a solid white base on all nails
- Put a strip of orange and black polish next to each other on a makeup sponge
- Dab the sponge gently onto your nail, starting from the base
- Repeat until you get your desired gradient effect
- Once completely dry, use black polish to paint tiny tombstone shapes
- Add small tree silhouettes with bare branches
- Lock in your design with a top coat
The result is a haunting scene that looks like it came straight from a Halloween movie.
5. Dripping Blood Design
Nothing says Halloween quite like this delightfully creepy design that’s guaranteed to turn heads at any party.
- Apply two coats of white or pale pink polish
- Let dry completely (about 10 minutes)
- Using red polish and a thin brush, start at your cuticle
- Create a small pool of polish at the top
- Drag the polish down in varying lengths
- Make some drops bigger than others for a realistic look
- Add smaller drops alongside the main ones
- Seal with a thick top coat
The secret to this design is varying your drip sizes. Nature isn’t uniform and your nail art shouldn’t be either.
Tips for Long-Lasting Halloween Nail Art
Your Halloween nail art should last through plenty of candy sorting and costume parties. Here’s how to make it stay put:
Tip 1: Always use a base coat – it creates a sticky surface for polish and prevents staining.
Tip 2: Be patient between layers, letting each one dry completely before adding the next design.
Tip 3: Cap your nail’s free edge with top coat to seal the design and prevent lifting.
Tip 4: Apply a fresh layer of top coat every few days to maintain shine and prevent chips.
Tip 5: Wear rubber gloves when doing dishes or housework to protect your artwork.
Tip 6: Keep your hands moisturized with cuticle oil daily to prevent polish from becoming brittle.
Tip 7: Skip hot showers or baths right after doing your nails. Heat and steam can cause bubbling.
Quick Fixes for Common Problems
1. Polish bubbling? Make sure your bottles aren’t old and shake them gently instead of vigorously.
2. Smudged design? Keep a small brush dipped in polish remover handy for quick touch-ups.
3. Shaky hands making precise designs tough? Rest your elbow on a table and your painting hand against your other hand for more stability.
Ready for Your Spooky Nails?
These Halloween nail designs are perfect for showing off at parties or just getting into the seasonal spirit. So, pick your favorite design and give it a try. You may surprise yourself with your hidden nail art talents.
[ad_2]
Source_link
![]()

")
